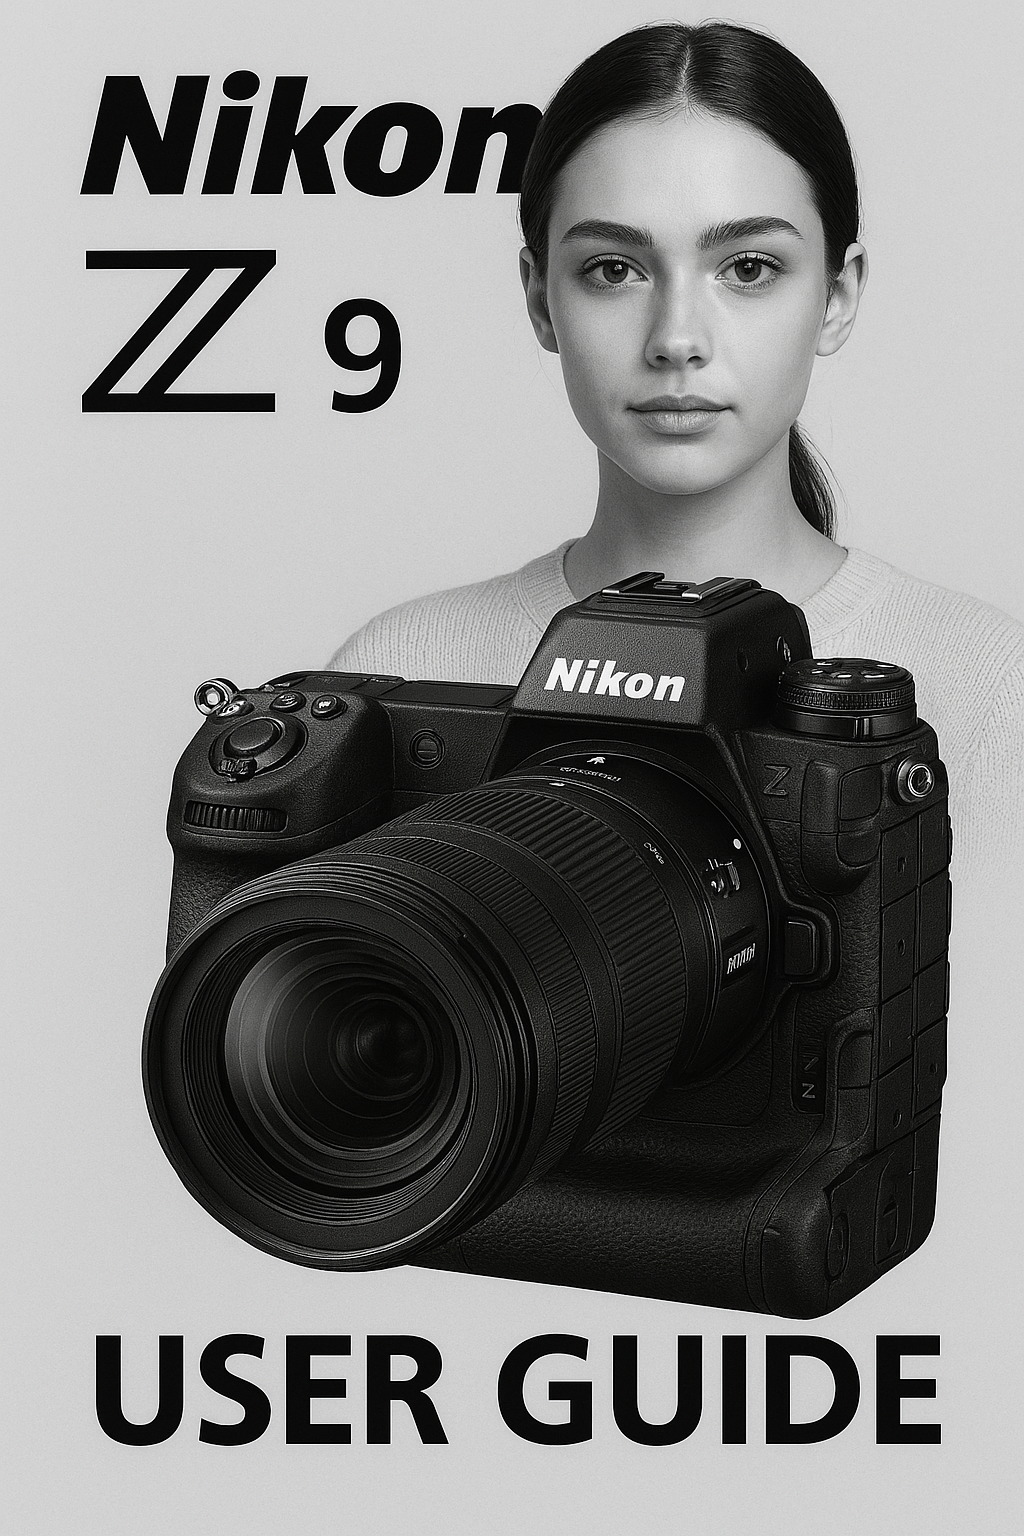
Welcome to the comprehensive Nikon Z9 User Guide, designed for photographers ranging from enthusiastic beginners to seasoned professionals. Released as Nikon’s flagship mirrorless camera, the Z9 combines cutting-edge technology with unparalleled customization, boasting a 45.7MP stacked CMOS sensor, advanced autofocus, and 8K video capabilities. This guide, tailored as of April 7, 2025, goes beyond the official manual to provide detailed instructions, practical tips, and insights into optimizing your Z9 for various shooting scenarios. Whether you’re capturing wildlife, portraits, or cinematic footage, this guide will help you unlock the full potential of your Nikon Z9.
Table of Contents
- Unboxing and Initial Setup
- Camera Overview and Controls
- Menu System and Customization
- Autofocus System and Settings
- Exposure and Shooting Modes
- Video Recording Features
- Advanced Features and Tools
- Connectivity and Workflow
- Maintenance and Troubleshooting
- Tips for Different Photography Genres
1. Unboxing and Initial Setup
Unboxing
Upon receiving your Nikon Z9, you’ll find the camera body, EN-EL18d battery, MH-33 battery charger, USB cable, strap, and a quick-start guide. The full user manual is available online as a PDF from Nikon’s official website, though this guide provides a deeper dive.
Initial Setup
- Charge the Battery: Insert the EN-EL18d into the MH-33 charger and plug it into a power source. A full charge takes approximately 2.5 hours.
- Insert Memory Cards: The Z9 features dual XQD/CFexpress Type B slots. Use high-speed cards (e.g., 160GB or higher) for optimal performance, especially for 8K video.
- Attach a Lens: Mount a Z-mount lens or use the FTZ II adapter for F-mount lenses. Ensure the lens is securely locked.
- Power On: Press the power switch near the shutter release. The camera will prompt you to set language, time, and date. Choose your preferences using the multi-selector and OK button.
- Format Memory Cards: Navigate to the setup menu, select “Format memory card,” and confirm to prepare the cards for use.
Firmware Check
Ensure your Z9 is running the latest firmware (e.g., version 5.00 as of early 2025) for new features like Auto Capture and enhanced subject detection. Download updates from Nikon’s website and install via the camera’s menu.
2. Camera Overview and Controls
Body Layout
- Top Panel: Shutter release, power switch, mode dial, ISO button, exposure compensation button, and two customizable function buttons (Fn1, Fn2).
- Rear Panel: 3.2-inch tilting touchscreen (2.1 million dots), 3.69m-dot OLED electronic viewfinder (EVF), multi-selector, AF-ON button, and playback/menu buttons.
- Sides: Ports for USB-C, HDMI, headphone, microphone, and 10-pin remote terminal.
Key Controls
- Shutter Release: Half-press for autofocus, full-press to capture.
- Mode Dial: Switch between P (Program), S (Shutter Priority), A (Aperture Priority), and M (Manual) modes.
- Joystick: Navigate menus or move autofocus points.
- i Menu: Press the “i” button for quick access to common settings.
Familiarize yourself with these controls through hands-on practice, as customization will play a significant role in your workflow.
3. Menu System and Customization
The Z9’s menu system is extensive, divided into five banks: Shooting Menu, Custom Settings Menu, Setup Menu, Retouch Menu, and My Menu. Here’s a breakdown:
Shooting Menu
- Image Quality: Choose RAW (lossless compressed), JPEG (Fine, Normal), or both. For action, use High Efficiency ★ RAW.
- White Balance: Auto, presets (e.g., Cloudy, Tungsten), or custom. Fine-tune via Kelvin settings.
- ISO Sensitivity: Range from 64 to 25,600 (expandable to 102,400). Auto ISO can be enabled with customizable limits.
Custom Settings Menu
- a: Autofocus: Configure AF mode (AF-S, AF-C), AF-area mode (Single-point, 3D-tracking), and subject detection (Auto, People, Animals, Vehicles).
- b: Metering/Exposure: Set metering (Matrix, Center-weighted, Spot) and bracketing options.
- c: Timers/AE Lock: Adjust power-off delay (e.g., 1 minute) and AE lock behavior.
- d: Shooting/Display: Enable silent mode, starlight view for low-light focusing, or virtual horizon.
Setup Menu
- Monitor/Viewfinder: Customize brightness, color balance, and display options (e.g., “Show effects of settings”).
- Network: Enable Wi-Fi, Bluetooth, or wired LAN for file transfer.
- Reset All Settings: Use cautiously to revert to factory defaults.
My Menu
Create a personalized menu with frequently used settings (e.g., AF fine-tune, image comment). Assign up to 20 items for quick access.
Customization Tips
- Assign Fn buttons for AF-ON or ISO adjustment.
- Use shooting banks (A, B, C, D) for preset configurations (e.g., wildlife, studio).
4. Autofocus System and Settings
The Z9’s autofocus is a standout feature, leveraging a 493-point system with deep learning-based subject detection.
AF Modes
- AF-S (Single): Ideal for stationary subjects like portraits.
- AF-C (Continuous): Best for moving subjects (e.g., wildlife, sports).
- Manual Focus: Use with focus peaking for precision.
AF-Area Modes
- Single-Point: Pinpoint focus on a specific area.
- Dynamic-Area: Tracks subjects within a selected zone.
- 3D-Tracking: Follows subjects across the frame, perfect for birds in flight.
- Auto-Area AF: Lets the camera select focus points automatically.
Subject Detection
- Auto: Detects people, animals, or vehicles dynamically.
- Specific: Lock onto people (eyes/face), animals (eyes), or vehicles for optimized tracking.
Tips
- For fast action, pair 3D-tracking with AF-C and a high frame rate (up to 20 fps).
- In low light, enable starlight view to assist manual focus.
5. Exposure and Shooting Modes
Exposure Modes
- P (Program Auto): Camera sets aperture and shutter speed.
- S (Shutter Priority): Control shutter speed (e.g., 1/8000s to 900s) for motion capture.
- A (Aperture Priority): Adjust aperture (f/1.2 to f/22) for depth of field.
- M (Manual): Full control over exposure, with histogram guidance.
Metering
- Matrix: Balanced exposure across the frame.
- Center-Weighted: Prioritizes the center 8mm area.
- Spot: Measures a 4mm circle around the focus point.
Drive Modes
- Single: One shot per press.
- Continuous Low (CL): 3-10 fps.
- Continuous High (CH): Up to 20 fps (electronic shutter).
- Silent Mode: No mechanical noise, ideal for quiet environments.
Tips
- Use Auto ISO with a 1/1000s minimum shutter speed for sports.
- Enable HDR for high-contrast scenes (e.g., landscapes).
6. Video Recording Features
The Z9 excels in videography with 8K/30p, 4K/120p, and 10-bit N-Log recording.
Key Settings
- Resolution/Frame Rate: 8K (30p), 4K UHD (120p), Full HD (120p).
- Codec: H.264, H.265, or ProRes RAW (with external recorder).
- N-Log: For post-production flexibility, use with a LUT.
- Image Stabilization: In-body 5-axis stabilization enhances handheld shooting.
Audio
- Connect an external microphone via the 3.5mm port.
- Monitor levels with headphones through the 3.5mm output.
Tips
- Record 8K for maximum detail; downscale to 4K in post for sharpness.
- Use manual focus with peaking for cinematic control.
7. Advanced Features and Tools
Focus Stacking
Combine multiple images for macro photography. Set via the “Focus Shift Shooting” menu, adjusting step width and number of shots.
Time-Lapse
Create time-lapse movies or intervals. Set duration, interval, and exposure smoothing in the menu.
Multiple Exposure
Blend 2-10 exposures in-camera for creative effects. Choose “Add” or “Average” overlay modes.
Auto Capture
(Firmware 5.0+) Automatically triggers shots based on motion or distance, ideal for wildlife.
Tips
- Use Auto Capture with a tripod for consistent results.
- Experiment with multiple exposure for abstract art.
8. Connectivity and Workflow
Wireless
- Wi-Fi: Transfer files to a smartphone or computer (NX MobileAir app).
- Bluetooth: Maintain a constant connection for remote control.
- Wired LAN: Use the Ethernet port for fast studio uploads.
Tethering
Connect via USB-C to software like Camera Control Pro 2 for live view and remote shooting.
Tips
- Enable GPS in the setup menu for geotagging (note battery drain).
- Use NX Studio for RAW processing and metadata management.
9. Maintenance and Troubleshooting
Maintenance
- Clean the sensor with a blower; avoid liquids.
- Store the battery at 50-60% charge when not in use.
- Update firmware regularly for performance enhancements.
Common Issues
- Autofocus Failure: Reset to factory settings or check lens contacts.
- Overheating: Limit 8K recording to 2.5 hours with ventilation.
- EVF Lag: Adjust brightness or disable “Show effects of settings.”
Contact Support
Visit Nikon’s website or call customer service for hardware issues.
10. Tips for Different Photography Genres
Wildlife
- Settings: AF-C, 3D-tracking, 20 fps, Animal detection.
- Tip: Use a telephoto lens (e.g., Z 400mm f/2.8) and Auto Capture.
Portraits
- Settings: AF-S, Single-point, Portrait detection, f/1.8 aperture.
- Tip: Enable skin softening in post with NX Studio.
Video
- Settings: 8K/30p, N-Log, manual focus, external mic.
- Tip: Use a gimbal for smooth tracking shots.
Landscape
- Settings: AF-S, Matrix metering, tripod mode (VR off).
- Tip: Use focus stacking for extended depth of field.
Conclusion
The Nikon Z9 is a powerhouse that rewards exploration and customization. This guide equips you with the knowledge to master its features, from autofocus precision to 8K video mastery. Experiment with settings, update your firmware, and adapt to your genre for the best results. For further learning, explore online resources or community forums. Happy shooting!
Note: This guide is based on available knowledge as of April 7, 2025, and reflects the latest firmware updates. Always refer to Nikon’s official documentation for the most current details.


